Search This Blog

Thursday, June 14, 2012

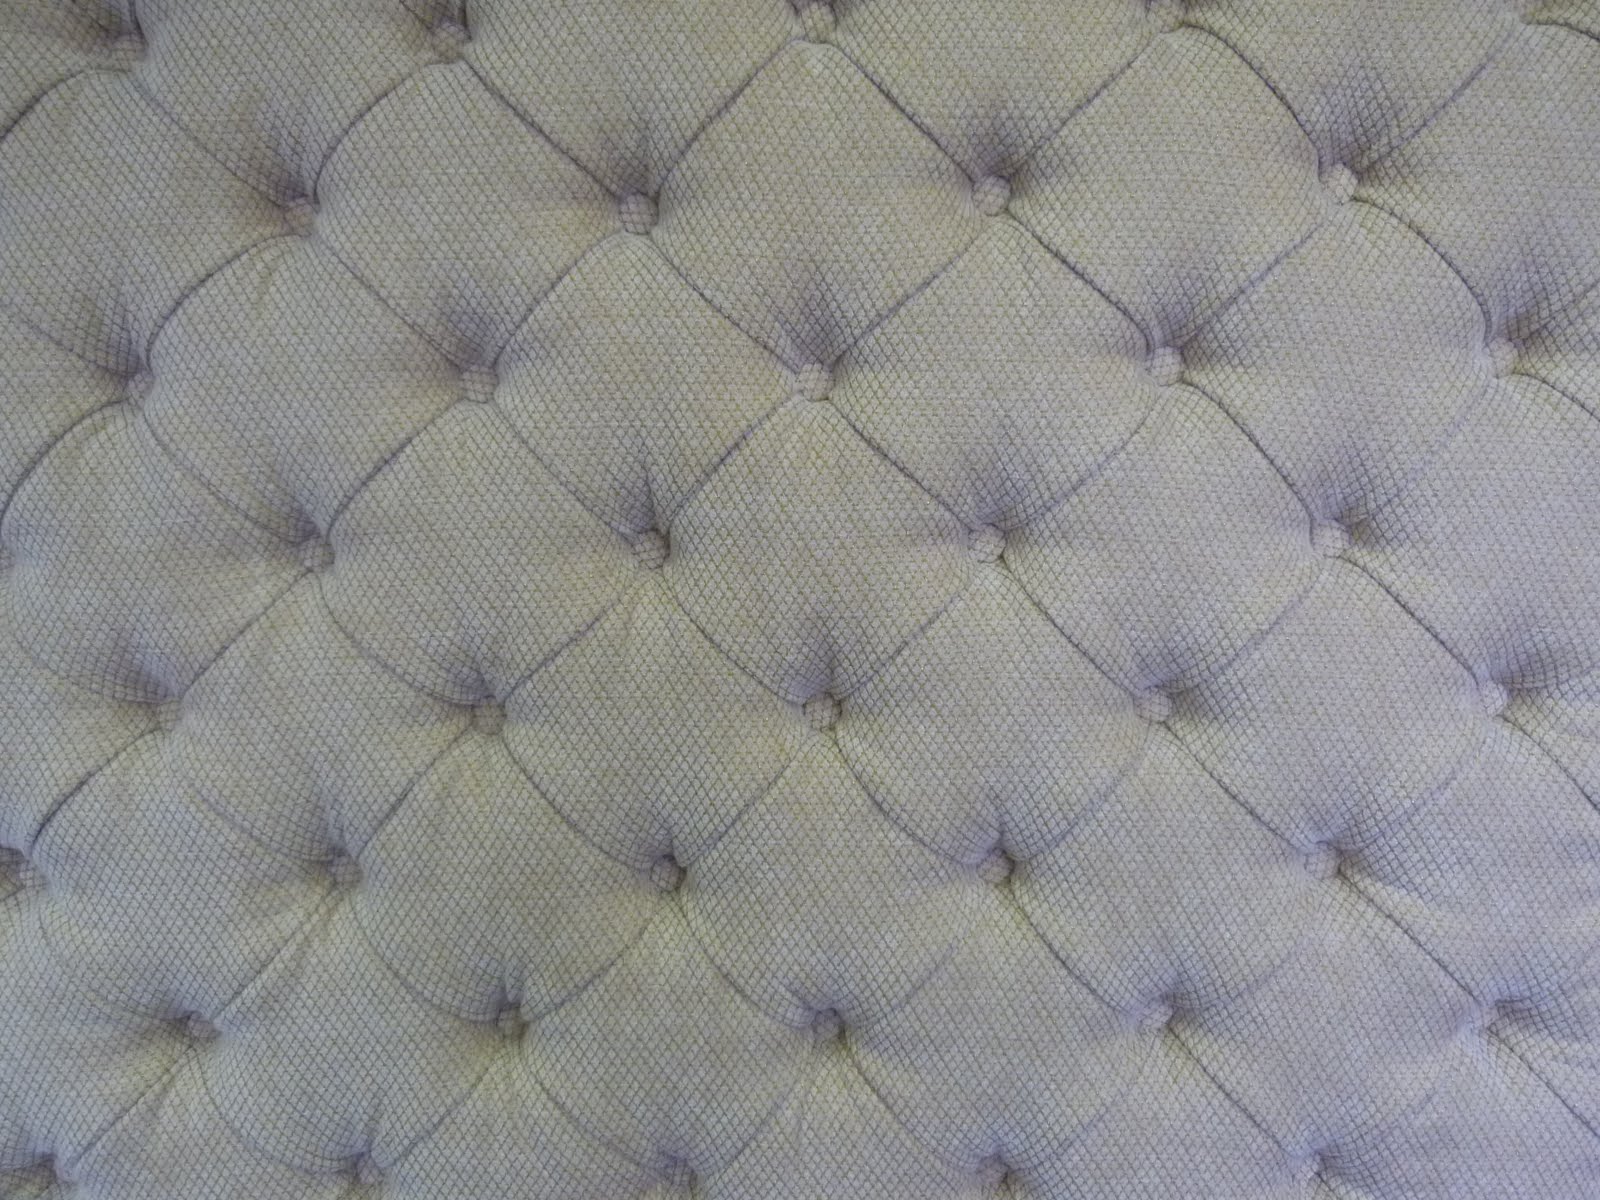
Upholstered walls

    I got the opportunity to tailor up some upholstered wall panels. from design advice to completion.
These upholstered wall panels will be installed in a new hampshire home.
                                 I hole cut all 112 tufted holes from 1 and a half inch foam, and glued to board after patterning the holes..

                     Below I set a thin coat of cotton over the foam to assist in a nice tailored look.
                                                             Made up lotsa' buttons.
                                                    The tufted wall is starting to appear.
                                                   Consistency Throughout is the goal!

                             I hung these plates off the ceiling for ease, and a nice tailored look.


                                       Here the edges closed out as specified by the designer.
Thanks for looking!

colonial pair

Here is a pair I assume was created in the 1960's.
Probably in gardner massechusets.


                                                          Here all the old staples removed.

                                  Lots of fabric pieces to cut and sew before the fitting begins.
                                 The owner picked from my expanding in stock fabric library.
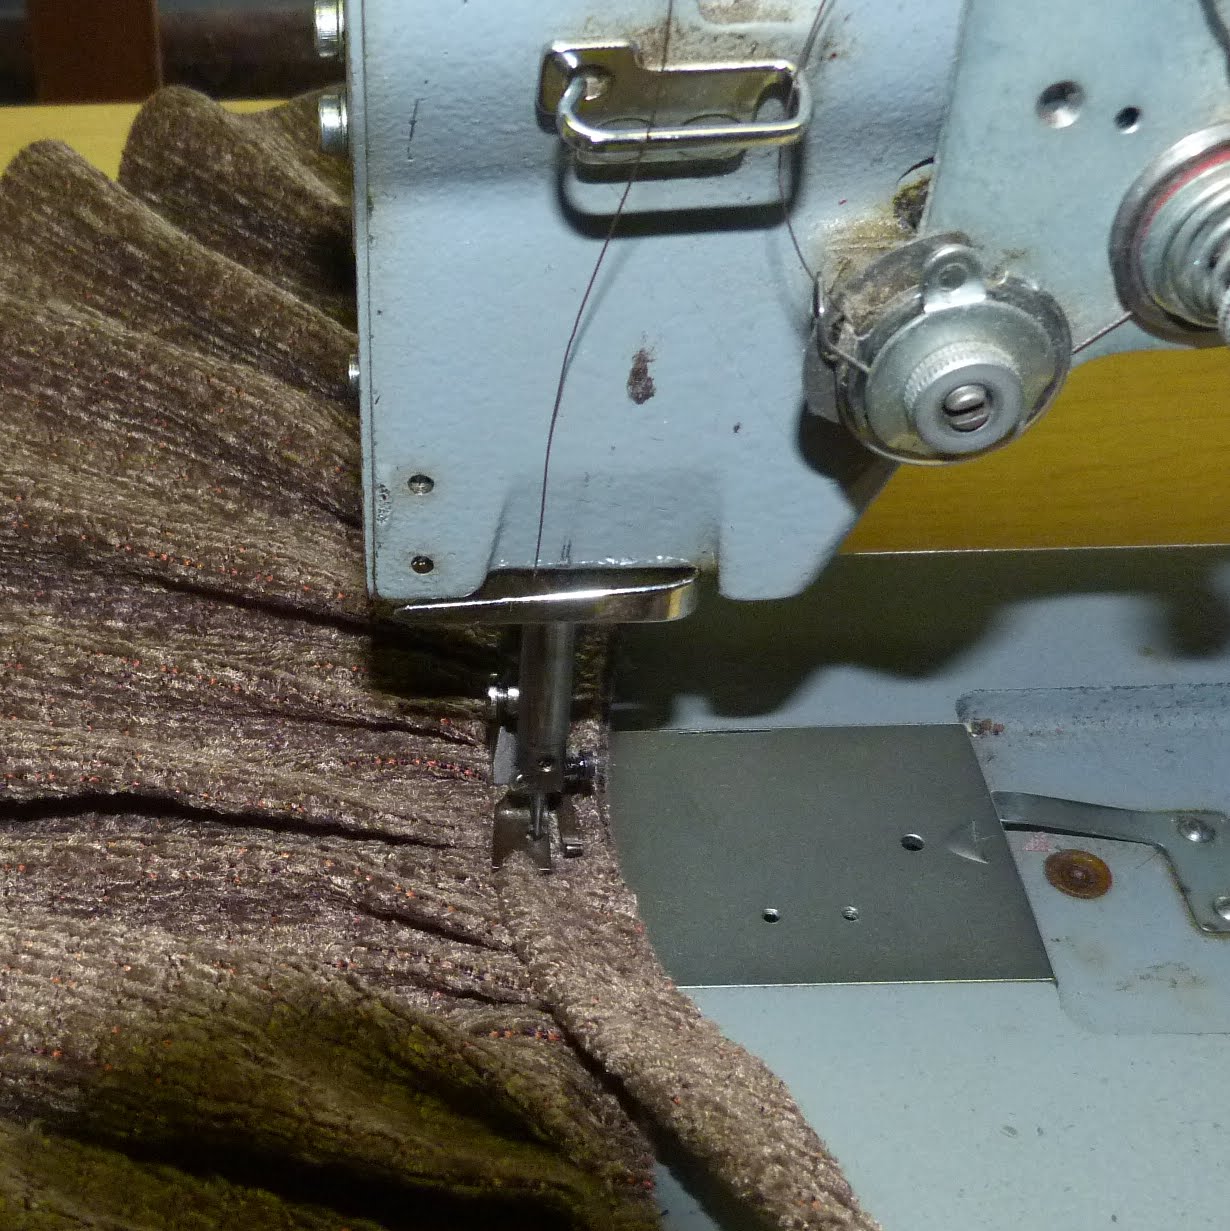
A shot of sewing up the pleated arm tops.


Here is a shot of the nosing strait edge.
                                                   And the tailored uparm top pleats.
                                And the custom cut bases tailored up and accented with piping.

                                   Time for a new back foam on the set in back cushion.
                                                        The old cushion has seen its day.
Below shows the outside arms and backs, lined and coated with a thin coat of cotton.


And here are the finished pieces.
                                     These frames are as sturdy as the day they were created.
Thanks for looking!


Friday, May 11, 2012

motorcycle seats

Here is a few recent motorcycle seats I have done.
This 1st one comes from a 1970's bike.
 Here shows all the rusted out tabs. A few pop rivets will solve this situation!

 And the finished seat. Clean tight wrapped!

This customer has a high sitting large bike. He was on his tip toes balancing his bike. I cut off 1 inch off each side and lowered the seat height by 1 and a half inch. And re designed the pattern.


And finally this high crown front long seat. The owner wanted to tie in his colors to the frame.

Thanks for looking!

Monday, April 2, 2012

A Happy Couple

Here is a great pair of wing backs probably created 40 years ago in the early 1970's.
The pic below shows the frames with all the staples removed from oak frames.
Thats some hard wood. 
 I noticed a broken leg and weak crossbar joint.
Shown reglued.
                               Here is the hand sewn nosing and decking with the stuffings reset.
                                        Fresh cotton on the arms as the old fabric was removed.
                                   Here the inside tailored up and the outside arms and wings backed.
                                                   Fresh thin coat of cotton over the lining.
                                                   I keep in mind not to overstuff furniture.
And the outside back lined and a thin coat of natural cotton.

                                                      Time for new quality foam cushion.
  I used 3 inch foam so not to overstuff this traditional furniture. With a nice glued on polywrap to give the cushion a nice look.
                         With the frames completed and should be good to go for another 40 years!
                                     The damask centered throughout with all tailoring matches exact throughout the pair of chairs.


Thanks for looking!

Practical Upholstery
The number one blog in all of blogdom
for small town American upholstery shops!